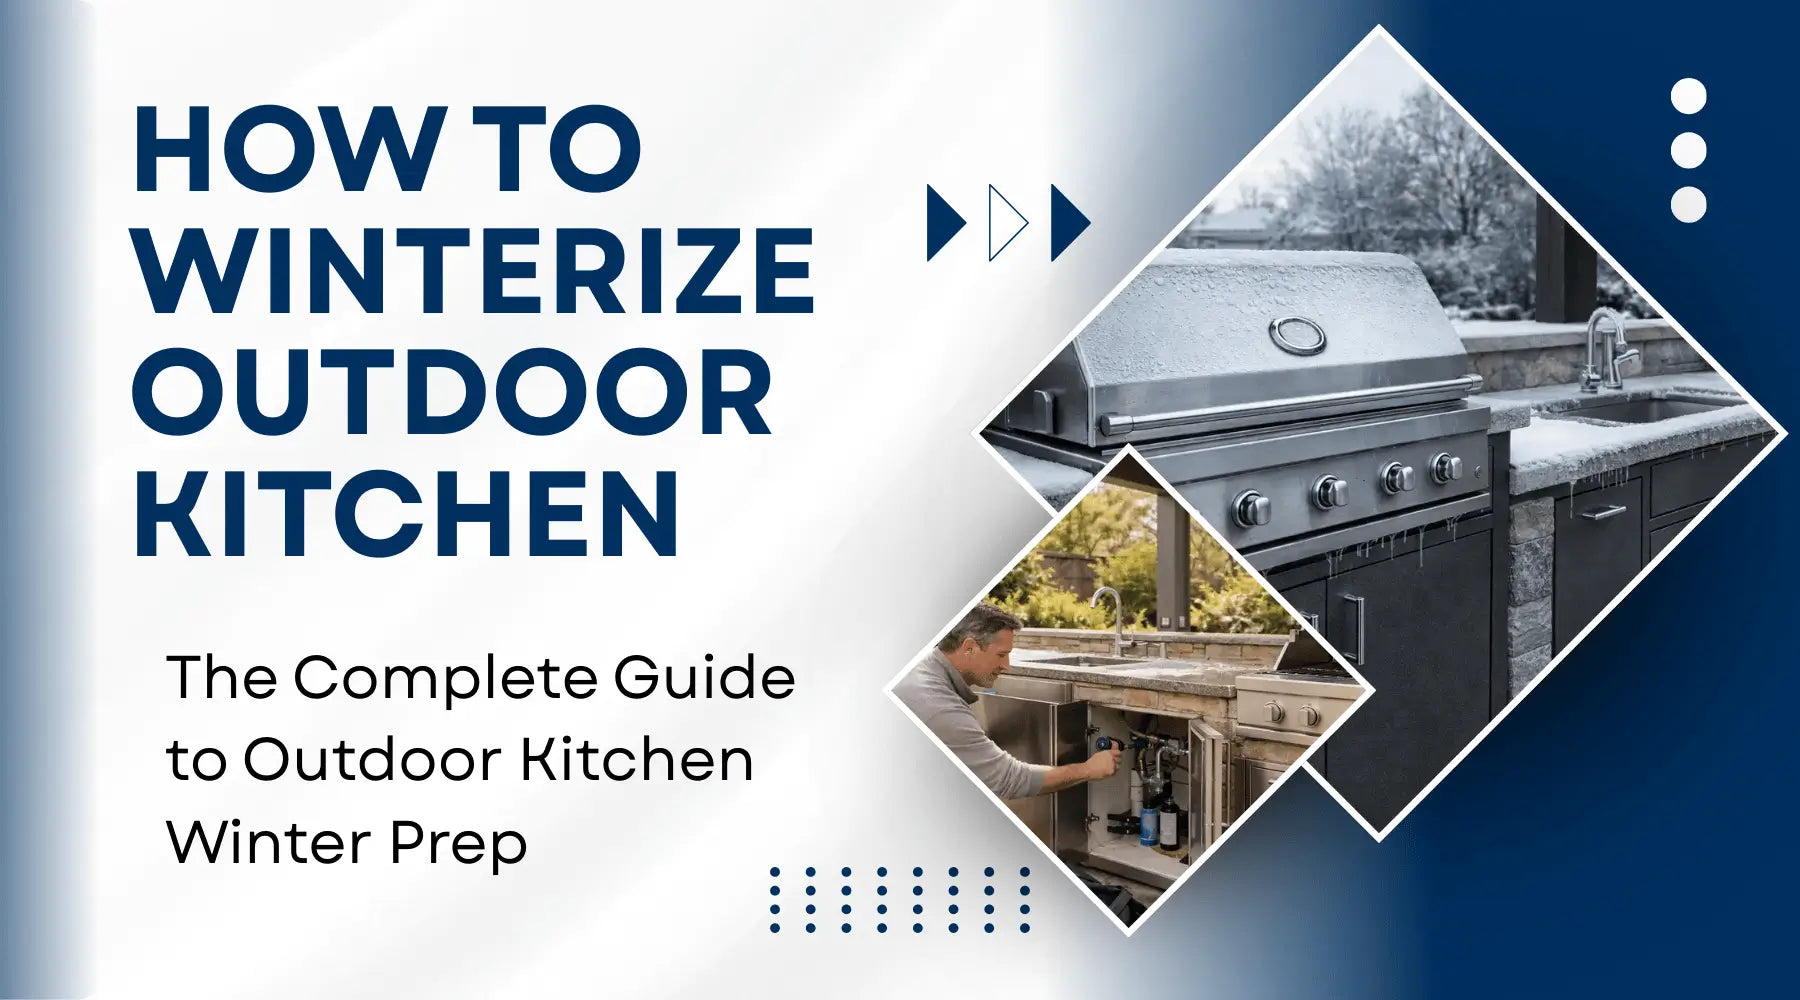
Why It’s Important to Winterize Your Outdoor Kitchen
As the temperatures drop and winter approaches, it’s time to think about how to winterize your outdoor kitchen. Proper outdoor kitchen winter prep is essential to protect your investment, avoid costly repairs, and ensure your favorite outdoor space is ready to use when spring returns. Whether you’re a seasoned outdoor chef or just starting to enjoy alfresco dining, these tips will help you protect your outdoor kitchen appliances in winter and keep everything looking and functioning its best.
If you’re still in the planning stages or want to upgrade your setup, check out our comprehensive guide on designing a luxury outdoor kitchen with premium appliances.
Why Is Winter Maintenance for Outdoor Kitchens Important?

Outdoor kitchens are exposed to the harshest elements—freezing temperatures, snow, rain, and ice. Without proper seasonal outdoor kitchen care, water can seep into cracks, freeze, and cause surfaces or plumbing to break. Appliances left unprotected may suffer from rust, corrosion, or even permanent damage. Shutting down your outdoor kitchen for winter isn’t just about convenience; it’s about safeguarding your space for years of enjoyment.
For more on how to keep your appliances safe year-round, read our tips on protecting outdoor appliances from weather damage.
When Should You Start Preparing Outdoor Kitchen for Winter?
The best time to start winterizing your outdoor kitchen is before the first hard freeze in your region. In colder climates, aim for late fall. If you live in a milder area, watch the forecast and be ready to act when temperatures are expected to dip below freezing. Remember, it’s better to prepare a little early than risk damage from an unexpected cold snap.
Step-by-Step: How to Winterize Outdoor Kitchen Spaces

Follow these key steps for thorough outdoor kitchen winter prep:
1. Inspect and Repair: Outdoor Kitchen Cold Weather Tips
Start with a careful inspection of your entire outdoor kitchen. Look for:
- Cracks or gaps in countertops, stone, or brickwork
- Loose mortar or shifting pavers
- Signs of water damage or wood rot
Address any issues right away. Sealing cracks and repairing damage now will prevent water from entering and causing bigger problems during freeze-thaw cycles.
If you’re considering new appliances or materials, explore our outdoor appliances collection for durable, weather-resistant options.
2. Seal Surfaces: Winter Maintenance for Outdoor Kitchens
Next, protect all surfaces:
- Apply a high-quality, cold-weather sealant to joints, seams, and cracks in countertops and masonry.
- Use a breathable stone or wood sealer to shield porous materials from moisture.
- Reseal as needed to maintain a strong barrier against winter weather.
Regular sealing is one of the best ways to protect outdoor kitchen in winter and extend the life of your surfaces.
3. Winterizing Outdoor Appliances
Outdoor kitchen appliances need special attention:
- Grills: Clean thoroughly, removing grease and food residue. Coat metal grates and burners with a thin layer of cooking oil to prevent rust. If you won’t be using the grill, turn off the gas supply and cover the grill with a weatherproof, breathable cover. If you’re deciding between different grill setups, explore our comparison of built-in vs. freestanding outdoor grills, or browse our collection of outdoor grills designed for all seasons. For unmatched craftsmanship and performance, consider our American made grills or Fire Magic appliances.
- Refrigerators and Ice Makers: Unplug these appliances, empty all contents, and clean with mild soap and water. Dry thoroughly to prevent mold and mildew. Leave doors slightly open if possible to allow air circulation. For more guidance, see our guide to the best outdoor refrigerators for all seasons or browse our outdoor refrigerators. Looking for a robust solution? Check out our outdoor ice makers and our article on outdoor beverage centers and ice makers.
- Other Appliances: Follow manufacturer instructions for winter maintenance, and cover all appliances to keep out moisture and debris. If you love entertaining, make sure to explore our outdoor beverage centers for efficient, weather-resistant drink storage.
For those considering appliance upgrades, learn why it’s important to use the right products in our article on using indoor appliances in outdoor kitchens.
4. Plumbing: How to Winterize Outdoor Kitchen Water Lines
Frozen pipes are one of the most common—and costly—problems in outdoor kitchens. Here’s how to avoid them:
- Shut off the water supply to all outdoor kitchen lines, including those for sinks, refrigerators, and ice makers.
- Open all faucets and drain valves to remove as much water as possible.
- Use compressed air to blow out remaining water from lines if possible.
- Remove the P-trap from under the sink, or pour a small amount of non-toxic antifreeze down the drain to prevent freezing.
- Leave faucets open throughout the winter to allow any remaining moisture to expand safely.
5. Cover and Store: Seasonal Outdoor Kitchen Care
Proper covers and storage are crucial parts of outdoor kitchen winter prep:
- Use breathable covers for grills, cabinets, sinks, and appliances. Avoid heavy, non-breathable materials that trap moisture.
- Bring soft items—cushions, towels, and accessories—indoors.
- Store any portable appliances or utensils in a dry, protected location.
If you’re a beer enthusiast, learn how to care for your outdoor kegerator during the colder months.
6. Clean Up: Final Outdoor Kitchen Winter Prep Steps
Finish your winterizing routine with a thorough clean-up:
- Sweep away leaves, dirt, and debris from all surfaces and patio areas.
- Check patio joints and fill any gaps with polymeric sand or flexible sealant.
- Remove anything that could trap moisture or attract pests.
If you’re thinking about expanding your outdoor cooking options, compare your choices in outdoor pizza ovens vs. grills.
De-Winterizing: Getting Ready for Spring

When warmer weather arrives, reverse these steps to get your outdoor kitchen ready for another season of fun:
- Reconnect and flush plumbing lines.
- Reinstall the P-trap and check for leaks.
- Plug in and test appliances.
- Remove covers, clean surfaces, and reseal if necessary.
Long-Term Tips: Protect Outdoor Kitchen in Winter for Years to Come
Consistent winter maintenance for outdoor kitchens pays off in the long run:
- Avoid expensive repairs and extend the life of your appliances and surfaces.
- Consider upgrading to weather-resistant materials and appliances for countertops, cabinets, and appliances.
- Inspect your outdoor kitchen at the end of each season for signs of wear.
Not sure which fuel type is best for your setup? Read our guide on propane vs. natural gas grills.
Conclusion: Enjoy Your Outdoor Kitchen Year After Year

Preparing your outdoor kitchen for winter isn’t just a chore—it’s an investment in the longevity and beauty of your space. By following these outdoor kitchen winter prep tips, you’ll protect your appliances, surfaces, and plumbing from harsh weather and be ready to enjoy outdoor cooking as soon as spring arrives. Take the time now for seasonal outdoor kitchen care, and your outdoor oasis will reward you for years to come.